


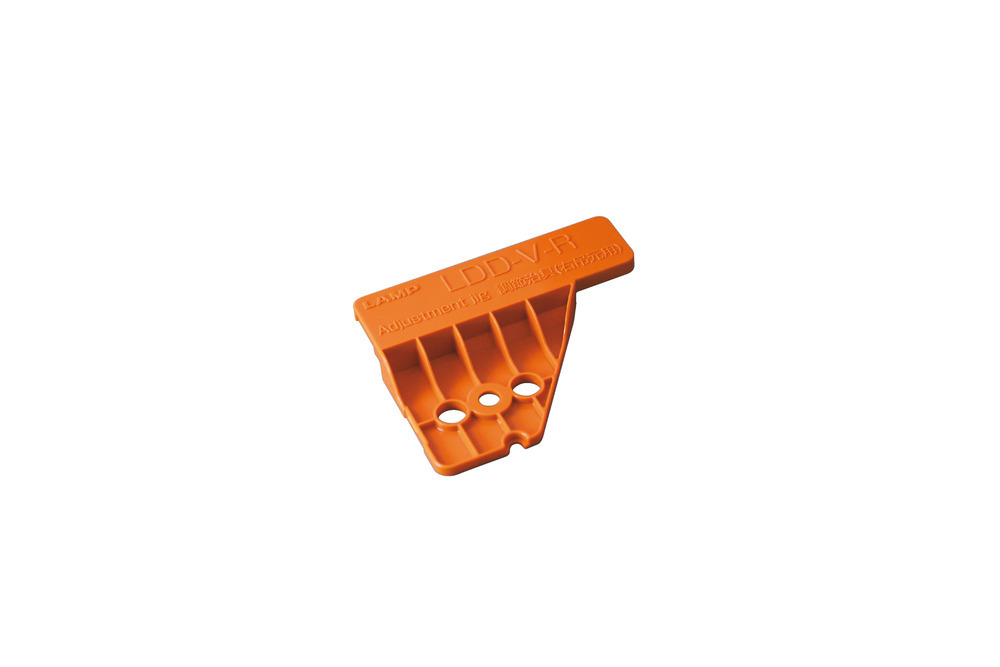
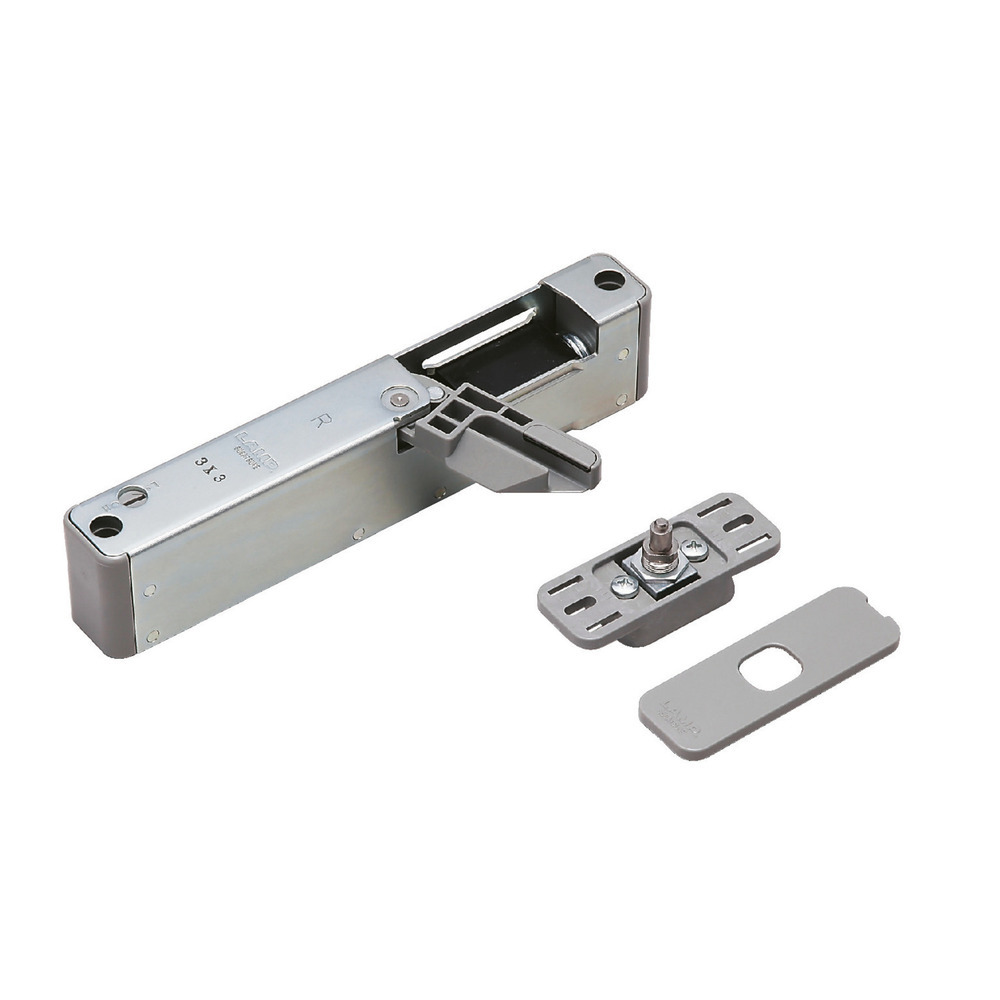
- LDD-V-JIG
ADJUSTMENT JIG FOR COUNTER PLATE OF LDD-VLDD-V-JIG
2 / 2 total results

invsible damper,hidden damper,invisible door hinge,invisible door,hidden damper

invsible damper,hidden damper,invisible door hinge,invisible door,hidden damper
- For Lapcon door damper LDD-V only.
Used for adjusting the counter plate position of LDD-V.
Related information

Drawings / Illustrations
-
 Show All
[How to Use]
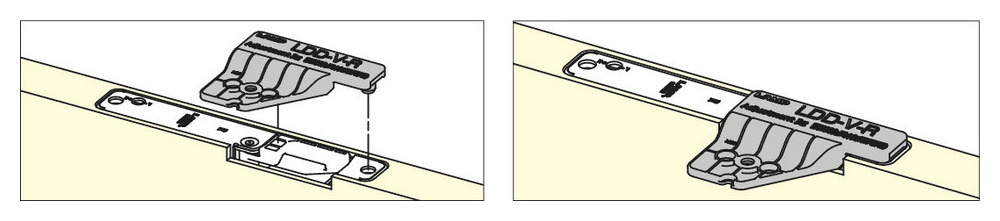
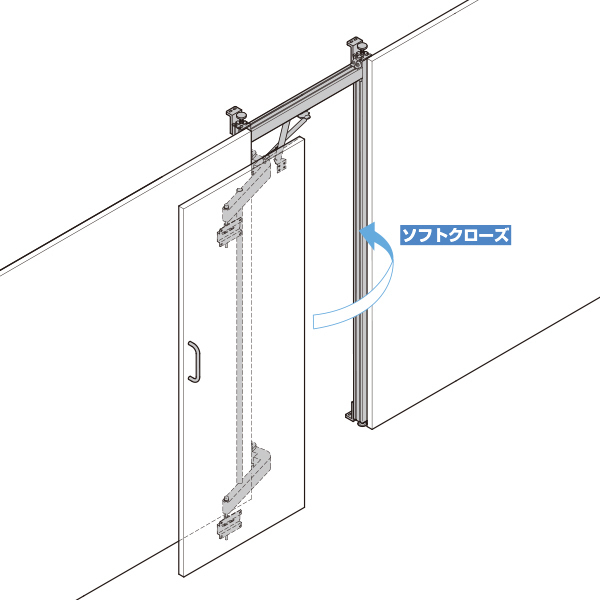
—1. Install the adjustment jig
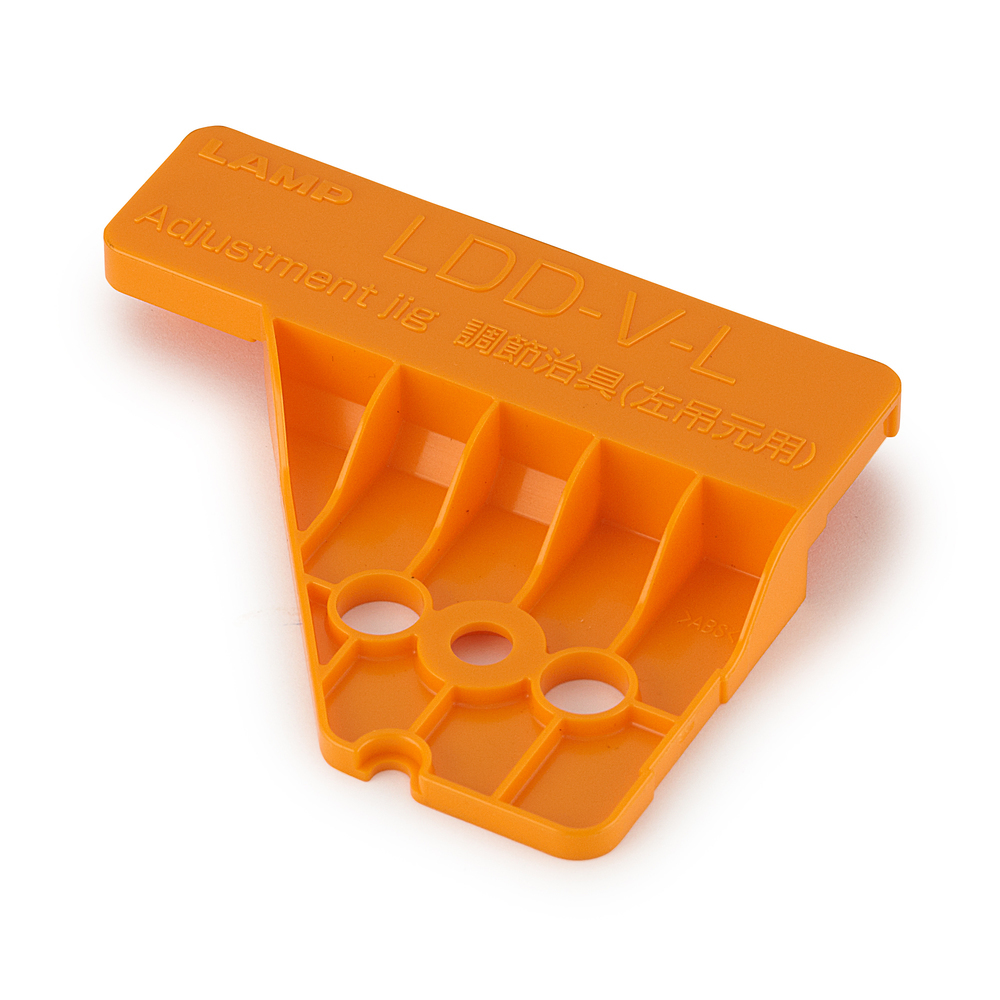
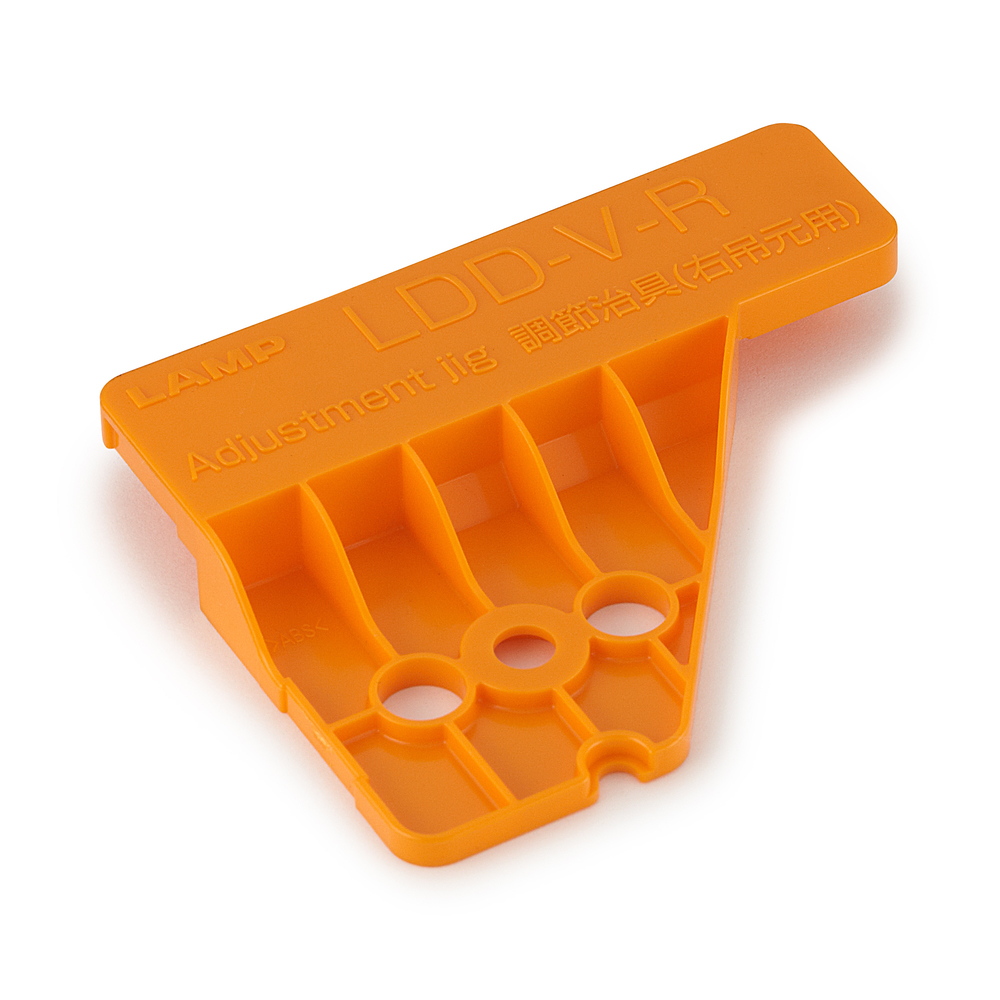
①Fit the adjustment jig firmly into the body.
*Right-handed and left-handed available.
*Be sure to adjust the counter plate position after adjusting the installation position of the hinges. -
Show All
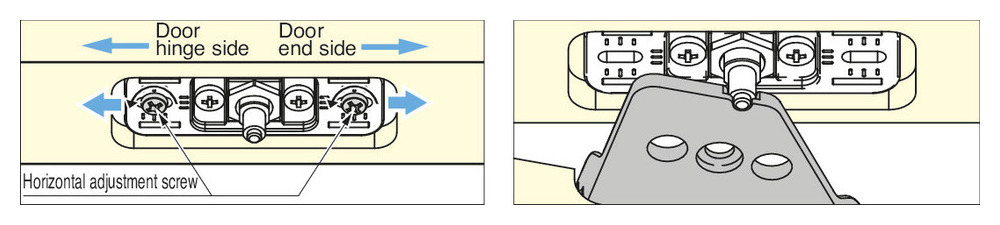
—2. Horizontally adjust the counter plate
①Loosen the horizontal adjustment screws.
②While holding the adjustment jig by hand, slowly close the door and align the counter plate shaft with the groove.
③Tighten the horizontal adjustment screws. -
Show All
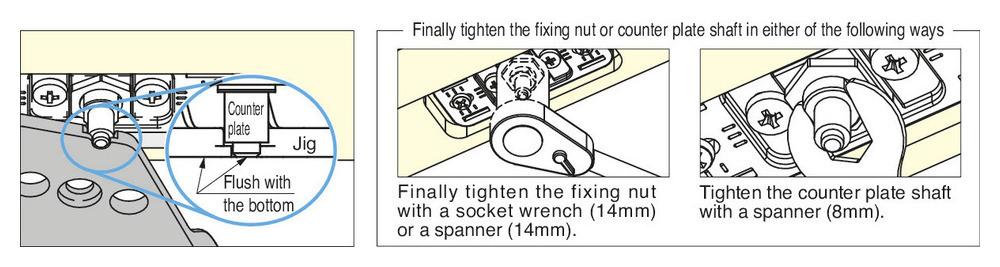
—3. Vertically adjust the counter plate
①Loosen the fixing nut.
②While holding the adjustment jig by hand, slowly close the door and align the top of counter plate shaft with the bottom of jig.
③Tighten the fixing nut or the counter plate shaft firmly. -
Show All
—4. Check
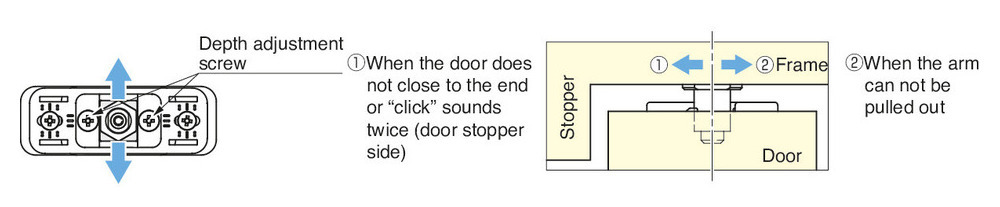
①When removing the jig and closing the door slowly to the end, “click” sounds once.
*If the door does not close to the end or “click” sounds twice, perform depth adjustment.
②When opening the door, “click” sounds once, and the arm is pulled out.
*If the arm can not be pulled out, perform depth adjustment.
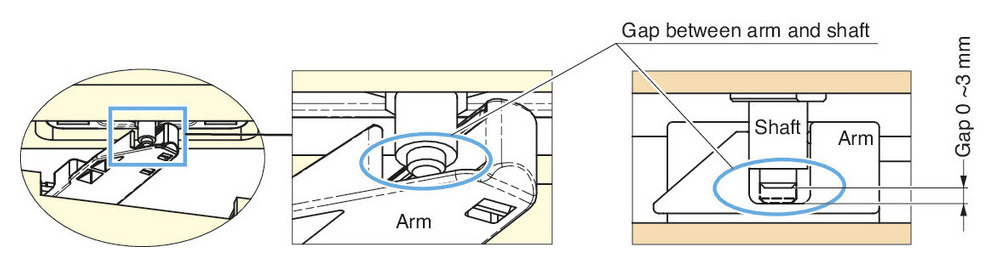
③Check if the clearance between the arm and the counter plate shaft is appropriate. -
Show All
*Depth adjustment of the counter plate (adjustment jig LDD-V-JIG can not be used for depth adjustment).
①Loosen the depth adjustment screws.
②Align the centre of the counter plate shaft with that of the door thickness.
③Tighten the depth adjustment screws.
-
[How to Use]
—1. Install the adjustment jig
①Fit the adjustment jig firmly into the body.
*Right-handed and left-handed available.
*Be sure to adjust the counter plate position after adjusting the installation position of the hinges. -
—2. Horizontally adjust the counter plate
①Loosen the horizontal adjustment screws.
②While holding the adjustment jig by hand, slowly close the door and align the counter plate shaft with the groove.
③Tighten the horizontal adjustment screws. -
—3. Vertically adjust the counter plate
①Loosen the fixing nut.
②While holding the adjustment jig by hand, slowly close the door and align the top of counter plate shaft with the bottom of jig.
③Tighten the fixing nut or the counter plate shaft firmly. -
—4. Check
①When removing the jig and closing the door slowly to the end, “click” sounds once.
*If the door does not close to the end or “click” sounds twice, perform depth adjustment.
②When opening the door, “click” sounds once, and the arm is pulled out.
*If the arm can not be pulled out, perform depth adjustment.
③Check if the clearance between the arm and the counter plate shaft is appropriate. -
*Depth adjustment of the counter plate (adjustment jig LDD-V-JIG can not be used for depth adjustment).
①Loosen the depth adjustment screws.
②Align the centre of the counter plate shaft with that of the door thickness.
③Tighten the depth adjustment screws.
Spec Table
Body
| Image | Item Name | Item Code | Quotation |
|---|---|---|---|
|
LDD-V-L-JIG | 270-025-275 |

|
|
LDD-V-R-JIG | 270-025-276 |
|
| Image | Item Name | Item Code | Quotation | RoHS | Spec | Type | Material | Colour | EAN |
|---|---|---|---|---|---|---|---|---|---|
|
|
LDD-V-L-JIG |
270-025-275 |
|

|
Left-handed |
Other |
ABS |
Orange |
4510932134675 |
|
|
LDD-V-R-JIG |
270-025-276 |
|
|
Right-handed |
Other |
ABS |
Orange |
4510932134682 |
Slide to See More
CAD download
Catalogue

Related products
Category
Your Recently Viewed Items
-
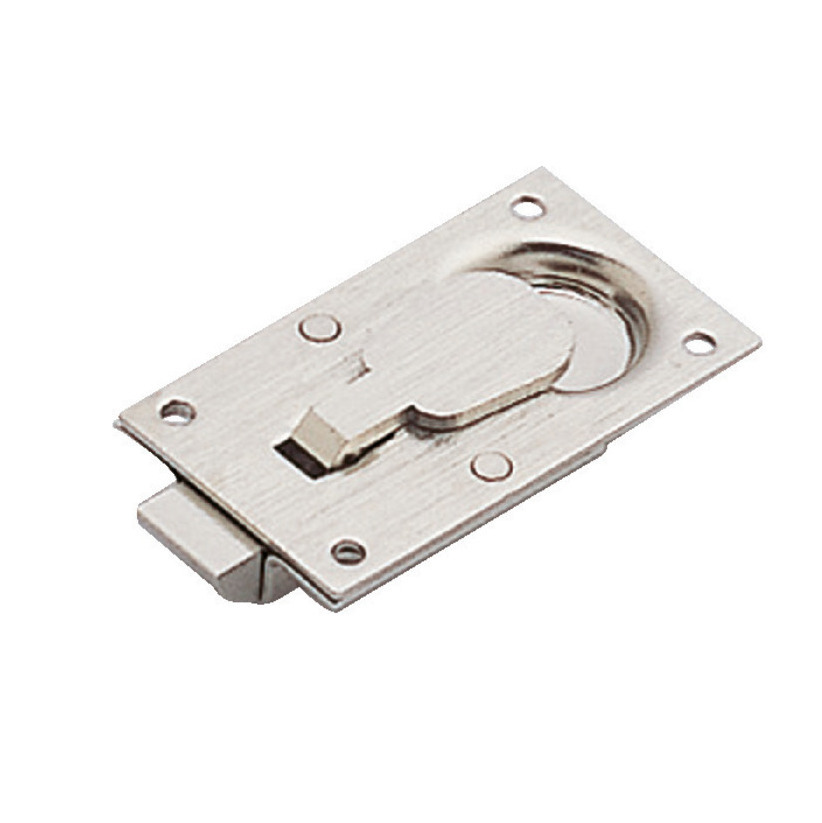
KNUCKLE CATCH
JC-T50
-
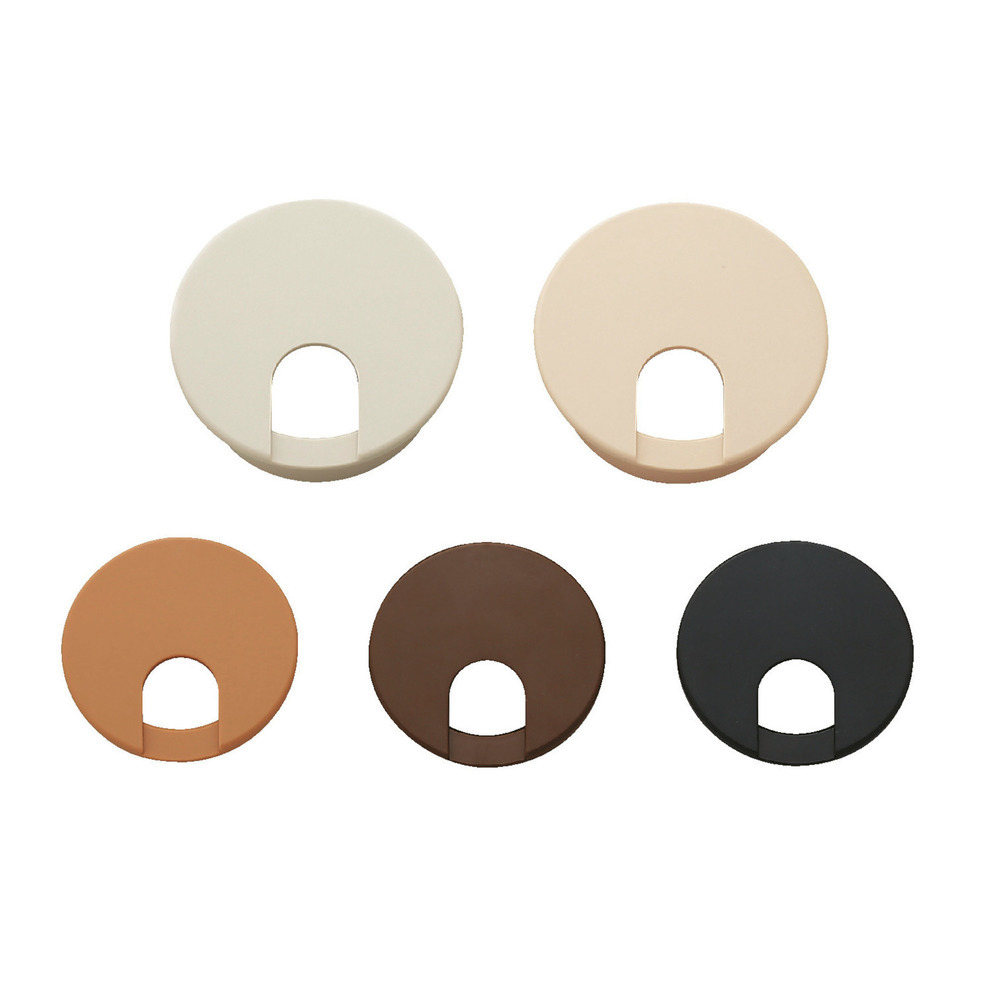
CABLE GROMMET
Square/Single Sided
LSUKS, LSKS
-
MAGNETIC TOUCH LATCH
ML-80
-
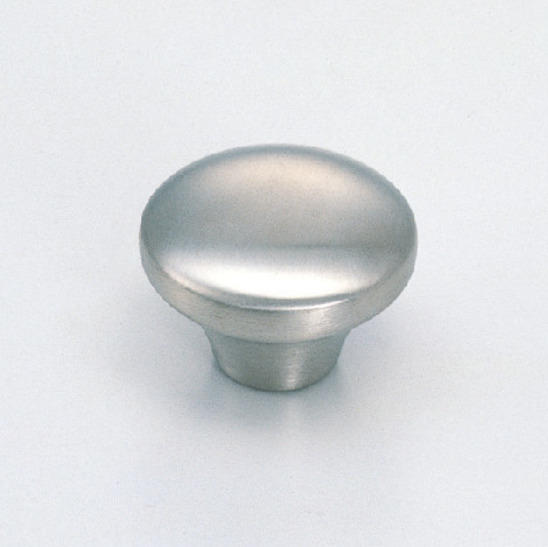
STAINLESS STEEL KNOB
RS-38S
-
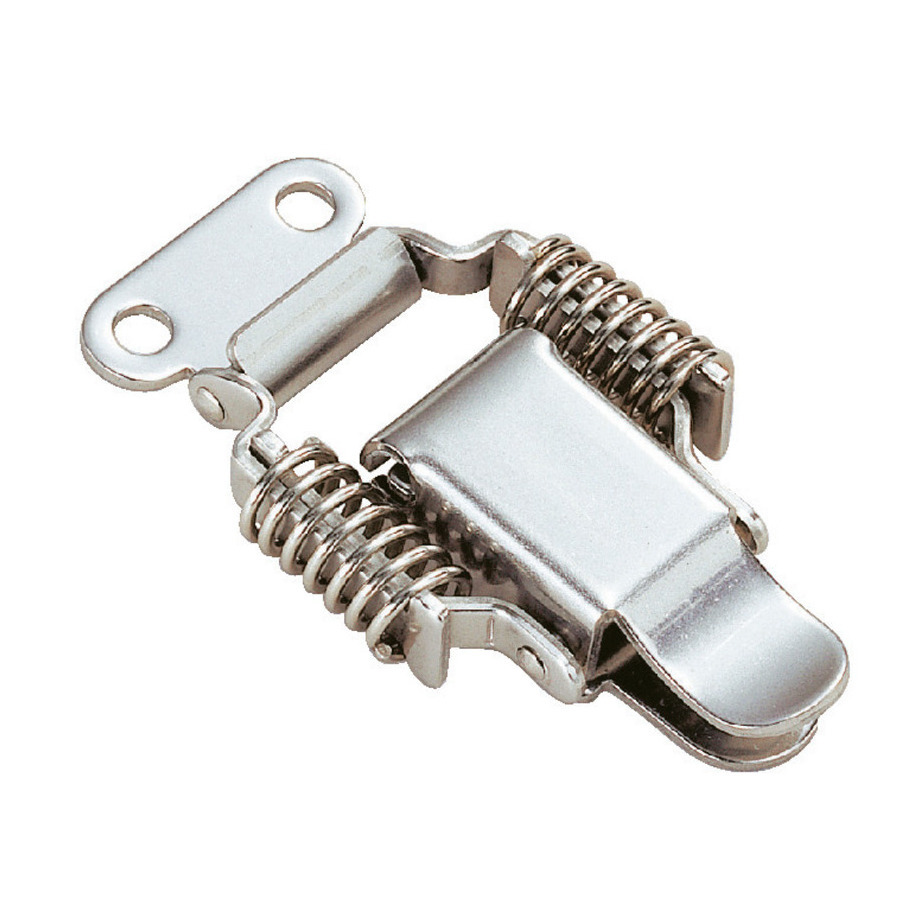
STAINLESS STEEL DRAW LATCH
Spring Loaded
SCC-40
-
STOPPER
FSL-S4
-
SLIDABLE FOLDING DOOR SYSTEM
KF111-R
-
FLUSH SLAM LATCH
P10-55H
-
FULL EXTENSION SLIDE
ESR-3813
-
KNOB
GD-20
-
STAINLESS STEEL ADJUSTABLE VENTILATOR
4813
-
MICRO DETENT HINGE
MPH-22G
-
STAINLESS STEEL DRAW LATCH
Spring Loaded
SCC-60
-
BAR LATCH
BLL
-
STAINLESS STEEL MINI GUIDE
SCRL2-15S
-
STAINLESS STEEL GLIDE BASE
AP36
-
RATCHET HEIGHT ADJUSTER
VA-RCT
-
ALUMINIUM FRAME
FSL-L
-
MULTI-PURPOSE LID
With Damper / Antiviral and Antibacterial Coating
AZ-GD230K-HL
-
MONOFLAT FAD (FOR PARTITION USE)
Flush Door
FAD-54
-
STAINLESS STEEL VENTILATOR
ASM
-
ANGLE BRACKET
SV
-
CABLE GROMMET
Round / One-Sided
LSU-S, LS-S
-
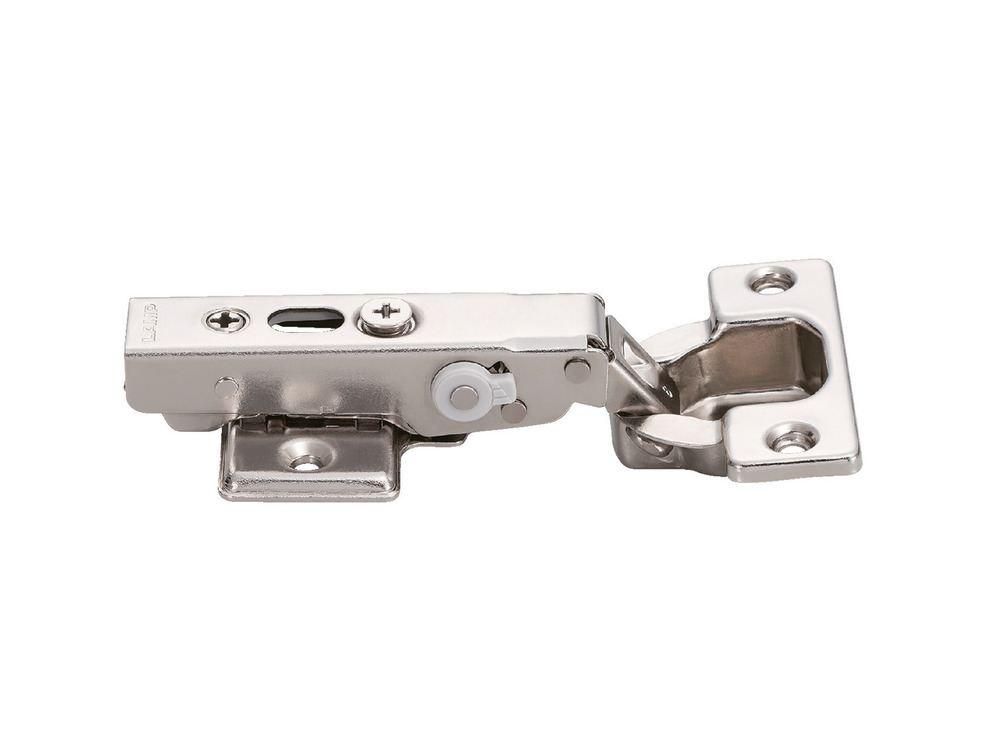
CONCEALED HINGE
85°Opening/19 mm Overlay/Built-in Damper
360


If you would like to keep track of items viewed, click on the "Keep History" button below.
You have no recently viewed products.
-All items, unless specified, are made to exact metric dimensions.
-Changes in dimensions, finishes, and packing etc. or suspension of production may occur without notice.
-Our liability is limited to the replacement of the merchandise.

 Loading